
The stages of making a Japanese print
How a piece of wood becomes a work of art
When you look at a Japanese print , you see soothing landscapes, majestic waves, or geishas of infinite class. But behind that masterpiece adorning your wall, there's a whole ballet of millimeter-perfect talents, tools, and astonishing anecdotes. Today, we're lifting the curtain on the behind-the-scenes creation of ukiyo-e prints. And believe me, it's not just a story of paper and ink.
Step 1: The star designer or artist ( eshi )
It all starts with the shita-e, or original black ink drawing. This is where artistic genius shines. Hokusai, Hiroshige, Kunisada... all these famous names started by scribbling on a sheet of paper before wowing the world. But don't think the artist stops there. Oh no, he also has to draw layers for each color of the print. Yes, EVERY color. One layer for the blue of the waves, another for the red of a kimono, another for the yellow of a sunset... Can you imagine the mental load (ok, sometimes they put several colors on the same sheet)?
But be careful, an ukiyo-e artist is not just a solitary painter. He is the leader of a team. Imagine this: he scribbles a sketch, but he knows he won't touch the wood or the ink. Yes, here, it's a collective effort.
Artistic sacrifice
The crazy thing is that shita-e —those beautifully drawn works—are doomed. Once transferred to the woodblock, it's destroyed during the engraving process. No going back, no "I'll adjust this." One mistake, and the whole thing falls apart. Basically, eshi is like a pastry chef creating a wedding cake, except they never taste it.
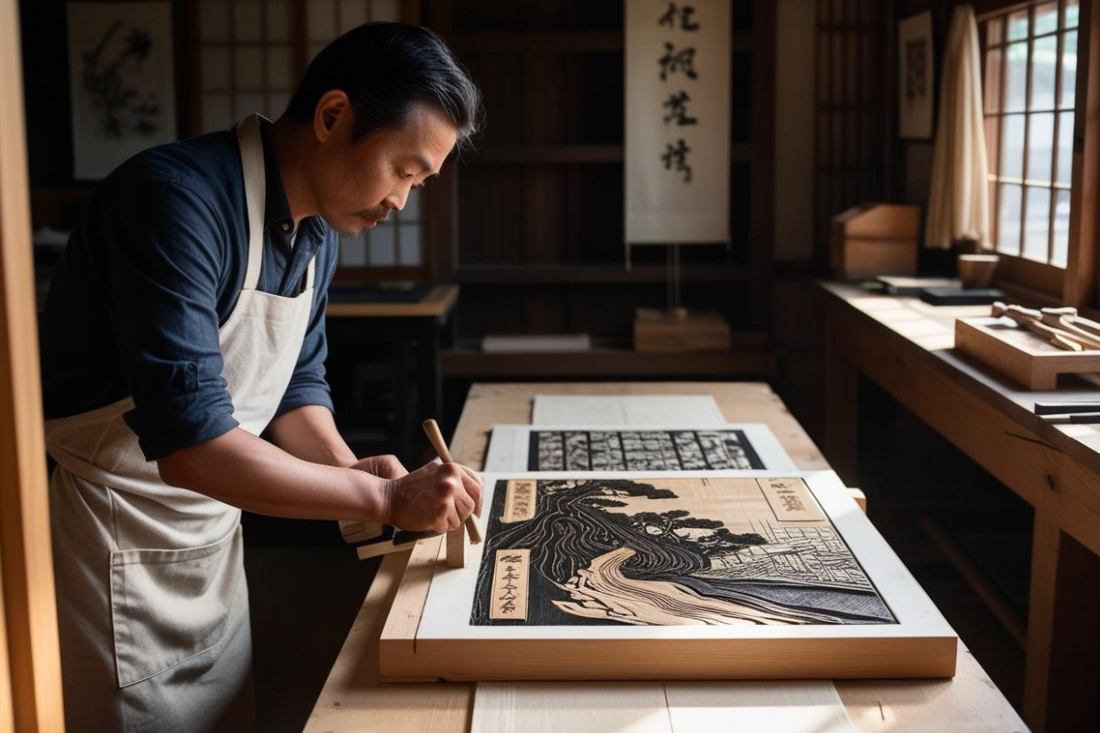
Step 2: The engraver or wood surgeon (horishi)
Once the design is approved, the engraver, the famous horishi, enters the scene. This virtuoso works with surgical precision to transfer the art onto a cherry wood block. No machine, no laser, just sharp tools and endless patience. Imagine a craftsman transforming the shita-e into a complex puzzle of lines and shapes on a cherry wood block to create the original block that will serve as the basis for all prints: the omohan. Sounds simple? Spoiler: it's not.

A board for each color
Here's the cool (or terrifying) thing: The horishi has to engrave a different plate for each color in the print. You want red in that kimono? One plate. A blue sky? Another plate. And as if that weren't enough, everything has to be aligned down to the millimeter. Otherwise, hello blurry faces and waves that look like puddles.
Imagine this engraver in front of his plate: "One mistake and Hokusai's entire drawing goes up in smoke." (Yes, we don't mess around with a wave that goes around the world.) A feat of engineering and craftsmanship! No Ctrl+Z version , you had to be sure of your chisel stroke (wood)!
Step 3: The printer or color maestro (surishi)

This is where the magic happens. The printer ( surishi ) delicately applies natural pigments to the engraved plates with brushes ( hake ), then presses washi paper over the top with a baren – a round tool that looks like a bamboo flying saucer. The magic happens when he removes the paper: vibrant colors, an incomparable texture, and patterns that almost seem to dance before your eyes. That is… if everything went well.
Mind you, this wasn't a simple one-shot painting. The printer repeated the process for each color, carefully aligning each pass. A true choreography. The killer detail? They sometimes used mica or gold to add shine. Hiroshige must have been thrilled to see his work shine (literally).
Fun fact: Surishi often does test prints before the final print. No second chance here, so you might as well make sure the red on the kimono hasn't turned candy pink.
Step 4: Hanmoto editors or unknown conductors
Ah, the hanmoto . If artists and craftsmen were the creative stars, publishers were the executive producers. These entrepreneurs oversaw everything from commissioning the design to its distribution. They financed operations, selected the best artisans, and ensured that the prints reached the market.
They also played a key role in the popularity of artists. If a publisher believed in an eshi , he could propel him to the top. In short, without the hanmoto , there would be no mass distribution of prints, nor any enthusiasm for artists like Kuniyoshi or Kunisada.
Why do these techniques remain unique?
What makes these techniques fascinating is their humanity. Each step is based on ancestral know-how, passed down from master to apprentice. It's a collective art where every mistake is irremediable. No Photoshop here: just wood, ink, and a lot of sweat.
How to recognize an authentic print? (Spoiler: We'll tell you everything soon!)
You might be wondering, "Okay, that's all well and good, but how do I know if my print is a real one or just a print?" Good question! This topic deserves its own article, but here's a teaser: look at the paper fibers, ink variations, and small imperfections. For those who are curious, we've got a complete guide for you. Stay tuned to the Kogechan Chronicles!
Conclusion: An ode to Japanese craftsmanship
The next time you admire a Japanese print, think of all the hands that shaped it. From draftsmen to printmakers, from printers to hanmoto, each left a unique imprint on that piece of paper. And if you're tempted by an ukiyo-e masterpiece, stop by our collection on Kogedo . Because after all, a little history on your walls never hurts!